Everything You Need To Know About Colouring Your Hair At Home

(Photo: iStock)
Yes, it may have been a matter of necessity in recent years, but taking control of your grown-out roots can be incredibly empowering. To make sure your next DIY colouring session goes as smoothly as possible, we asked Luis Pacheco, a Toronto-based colourist and founder of haircare brand TO112, and Brennen Demelo, a stylist with Studio Nosara and former L’Oréal Paris expert, to share their tips and tricks on how to dye your own hair at home.
What should I consider before colouring my own hair?
First off, can you see an expert? “If you’re completely unfamiliar with colouring your hair, applying dye on yourself is not as easy as you might think,” says Pacheco. Keep in mind that fixing a DIY dye job gone wrong can be expensive, time-consuming and harsh on your hair. There are less permanent options that can help temporarily cover greys and grown-out roots until your next salon visit.
If you do decide to go ahead and colour your hair, consider the end result you’re looking for. Do you want to retouch your roots? Refresh your colour? Add some shine? Cover your greys? “Once you have established that, you can pick the right product for your needs,” says Demelo. Whether you’re looking for a roots touch-up or an all-over dye job, there are dedicated products for each colouring situation, so make sure you get the right one. On top of that, consider how many boxes you might need to cover your entire head to avoid running out halfway through the process. Unless your hair is very short, it's a good idea to pick up at least two boxes.
Are there colouring techniques that should not be attempted at home?
Unless you know your way around a bottle of bleach, it’s best to leave colouring techniques that involve lightening the hair—like balayage, ombré and highlights—to the professionals. “Bleach can cause damage and breakage, so the application has to be precise. It takes years of training and practice to learn to work with it safely,” says Pacheco.
If your lightened ’do is in need of a touch-up, he recommends waiting it out until you can visit the salon. In the meantime, embrace the grungy ’90s look and use this break from colouring to give your locks some much-needed TLC with deep conditioning treatments.
How do I choose the right shade of hair dye?
The best way to narrow things down is to focus on one brand and eliminate options based on your desired final result. Instead of looking at the model on the box, study the chart at the back for a more accurate representation of what your hair will look like once dyed.
If it’s your first foray into hair colouring, Demelo recommends going no more than two shades lighter or darker than your natural hue. Pacheco agrees, citing extreme transitions as one of the most common mistakes people make when going the DIY route. “At-home hair colour is only made to lift the hair successfully up to two shades. For anything above that, you’ll need to see a professional,” he says.
If you’re touching up a salon colour, aim for the shade that most closely matches your hair. “Always choose a lighter shade than what you think you are,” adds Pacheco. “If you go lighter, it will be easier for your colourist to fix it by going slightly darker.” If you have a good relationship with your colourist, ask them for a consultation before selecting your colour—they can help guide you in the right direction and recommend shades and undertones that are similar to the professional colour they have mixed for you in the past.
What tools do I need to colour my hair?
While most colouring kits come with everything you need (dye, a mixing bowl, an applicator, gloves and even deep conditioning treatments), having a few extra items on hand will make the process easier.
Hair colouring is a messy business, so you’ll need an old button-up shirt that you don’t mind staining and an old towel to mop up excess product. (Buttons are key—Pacheco warns that trying to get a tight t-shirt over your freshly dyed hair will inevitably lead to stains.) If you’re worried about the tell-tale dye stains around your forehead, Demelo recommends using petroleum jelly to protect your skin. If you don’t have any, a dollop of conditioner from the colouring kit works, too. “Apply a little bit around your hairline, ears and neck to prevent staining,” he says. A good comb and clips to section your hair will also come in handy.
Also remember to set a timer. “A lot of people don’t pay attention to the time and they’re either rinsing the colour off too soon or rinsing it off too late,” says Demelo. “Timing really does play a role in the end result.”
How do I prep my hair for at-home colouring?
The best time to colour your hair is when it’s unwashed, but free from any product build-up. “The natural oils will protect your scalp from the hair colour, especially for people who may have some itching,” says Demelo. However, he insists that the hair should be free from product residue. “I often shampoo the hair very lightly first. You don't want to go in and really scrub the scalp as it can cause irritation,” he adds.
It's also important to do a patch test on a small area of skin following your colouring kit’s instructions, even if you’ve used hair dye before, as different brands use different ingredients and new allergies can develop over time.
How do I apply hair dye?
First, read the instructions. And then, read them again just to be sure. Once you’ve prepped your dye and protected your skin with petroleum jelly or conditioner, section your hair. Pacheco suggests starting by parting your hair as you normally would, as this is the area you’ll likely notice the most. Once you’ve done the most visible section of your hair, you can focus on your hairline, roots and the nape of your neck in sections, and then move on to the lengths if necessary.
If you’re touching up your roots, keep in mind that coloured hair processes dye differently than virgin hair, a.k.a. hair that has never been coloured before, such as your roots. You want to apply colour to the grown-out part of your hair as precisely as possible to avoid overlapping, as dyeing already-coloured hair could result in banding (a noticeable demarcation between roots and previously coloured hair). “Correcting banding involves bleaching, which is time-consuming and very expensive,” says Pacheco. “To avoid the colour from getting on the ends of your hair, apply a layer of conditioner and saturate the ends to act as a barrier while you're dyeing the rest of your hair,” he adds.
If your ends are looking dull and washed-out, “first apply the colour where you need to get the coverage, let that process in the time that is allotted in the instructions and then refresh your colour all the way through by combing what’s left in the bottle to add shine,” says Demelo.
If you’re dyeing your hair for the first time and need to do your entire head, you don’t have to be as precise with your application and timing. “If you've never coloured your hair before, you apply the colour to all of the hair,” says Pacheco. Section it, and apply the dye according to the instructions. However, he says, you need to make sure that the product you’re using is designed for all-over colour and not a roots touch-up.
In terms of timing, everyone is different. Your best bet is to follow your kit's instructions. If you know that your hair is resistant to pigment or if you’re covering coarse, grey hair, you might have to leave the product on a little longer.
Once the colour has cured, it’s time for a thorough rinse. “Make sure you keep your eyes closed, tilt your head back and rinse as much as possible,” says Pacheco. Et voilà—you have successfully dyed your own hair at home!
How do I care for coloured hair?
Caring for colour-treated hair is all about preventing breakage and repairing damage. Chemically treated hair needs loads of moisture. If you can, take a break from heated tools and add bond-repair products, like hair masks, to your routine. “When you're doing a mask, put it on the ends, not on your scalp,” he says. “The skin on your scalp is a continuation of the skin on your face, and masks are heavy with oils and moisturizing ingredients.”
For a fuss-free treatment, Demelo recommends making the most of your natural oils. “When you haven't washed your hair and you have all these beautiful oils, just brush that through your hair. That's a natural treatment that your hair is producing—embrace it.”
And if you haven't already, switch your go-to shampoo and conditioner for colour-safe products. Both Pacheco and Demelo say that blonde locks require the most frequent upkeep as they tend to go brassy quickly; the key to keeping them looking fresh is to neutralize these unwanted tones. In place of going to the salon for a toning treatment, Demelo recommends using a purple shampoo once or twice a week, while Pacheco tells his clients to use a build-up remover shampoo to help reduce the brassiness that comes from exposure to water with a high mineral content.
I don’t want to dye my own hair. What are my options for covering grown-out roots at home?
“The first option is to change your hairstyle. Embrace texture and volume, because they will naturally hide the roots,” says Pacheco. You can also try changing your part, especially if you’re trying to hide greys and have more on one side.
Temporary root touch-up solutions have come a long way in recent years, with great options for both lighter and darker hair available at the drugstore. Demelo loves L’Oréal Paris Magic Root Cover Up, a quick spray-on solution that’s available in eight shades and washes out in the shower. “It’s a good way to fool the eye and safely extend your colour until you can see your hairstylist,” he says. Pacheco swears by Oribe Airbrush Root Touch-Up Spray, which works in the same way and comes in six shades.
Below, we’ve rounded up a few at-home dye tools to shop right now.
Vaseline Original Healing Jelly, $6

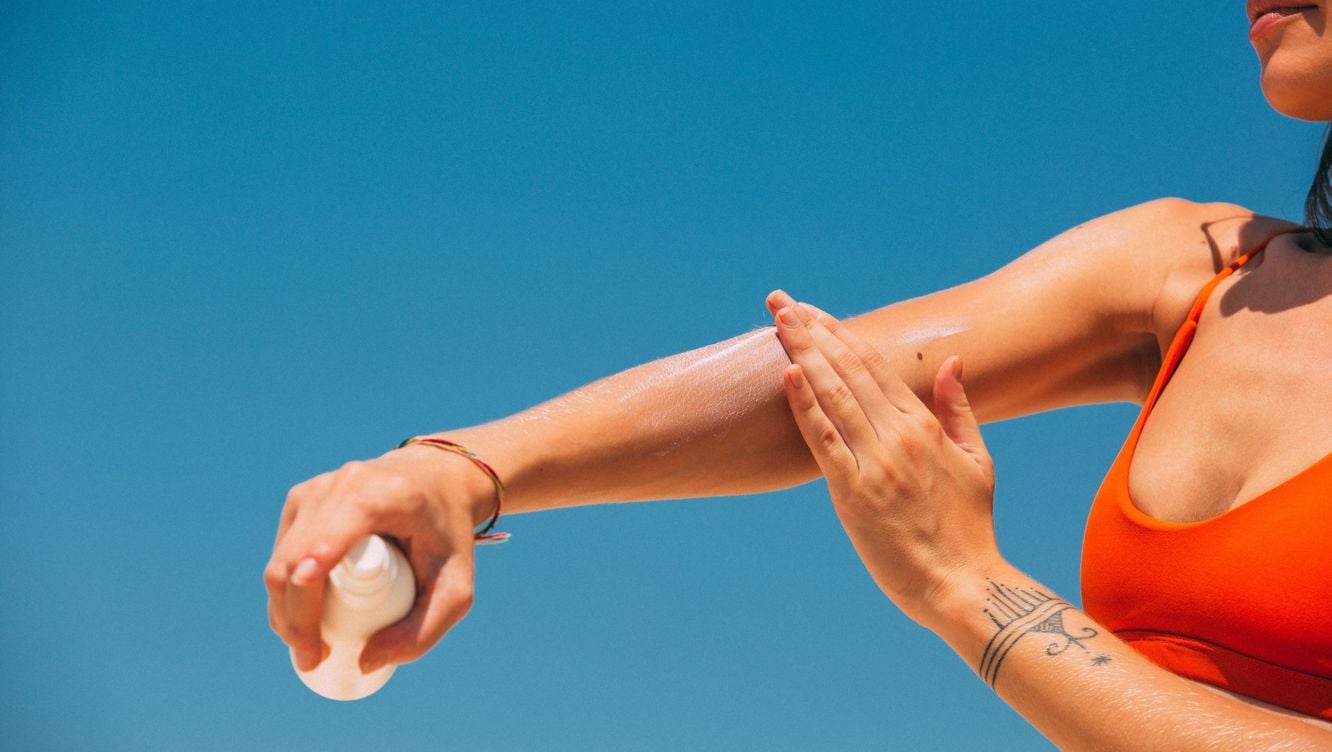
Vaseline isn't just good for your skincare slugging routine. For a stain-free hairline, apply a thin layer of petroleum jelly before you dye your hair at home.
Clairol Root Touch-up, $11

No time for a salon visit? This touch-up kit comes with everything you need for a quick at-home refresh. The handy brush makes covering up your roots a cinch and the permanent dye covers up greys in just 10 minutes.
Garnier Olia Oil-Powered Colour, $16

It's no secret that dyeing your hair can wreak havoc on your tresses' moisture levels. This ammonia-free formula contains oils to leave hair feeling softer and shinier than before.
L'Oréal Paris Magic Root Cover-Up, $19

Beloved by Demelo, this handy spray-on cover-up refreshes roots and temporarily covers 100 percent of greys. It's an instant fix—without the commitment!
Moroccanoil Colour Care Blonde Perfecting Shampoo, $41

This gentle shampoo is packed with hair-strengthening argan oil and violet pigments that neutralizes harsh and brassy tones in blonde hair.
This article contains affiliate links, so we may earn a small commission when you make a purchase through links on our site at no additional cost to you.
The very best of Chatelaine straight to your inbox.

Andréanne Dion is the senior editor, style, beauty and travel at Chatelaine. She is also a contributing editor at FASHION and Hello! Canada.